

This post is intended for people having a basic understanding of Adobe Illustrator – or for those who are interested in learning to use it for authoring Frogans sites.
Intro
One of the trickier parts of authoring Frogans sites is dealing with all of the coordinates in FSDL. For every distinct graphic element that goes into your layout, you must specify (among other things) its desired height as well width and the XY coordinates of where on the slide that element will be placed. Ideally, you should have all of these coordinates determined before you even start to write your FSDL code.
For the moment, there exists no FSDL authoring tool that will take your layout and generate FSDL code. But in taking advantage of an illustration app like Illustrator you can work in an environment where you can create visual elements while keeping track of their width, height and XY coordinates.
About Illustrator
Illustrator is a software that allows you to draw vector images and to combine them with imported bitmapped image files. Whether a visual element is drawn natively or imported, you can resize it and reposition it as you like.
But what makes Illustrator such a good tool for authoring Frogans sites is that its user interface provides you with size and placement coordinates for each element and any combination thereof. For coding graphic elements without any guesswork, you can take these coordinates from your Illustrator workspace and use them directly in your FSDL documents.
Designing a Frogans slide using Illustrator
I usually start a Frogans site by sketching out ideas by hand, but pretty soon I’ll need to get on the computer and convert the ideas to usable graphics.
Since the maximum size of any Frogans slide is 640×480 pixels, I’ll typically create a new illustrator document with a 640×480 pixel artboard.
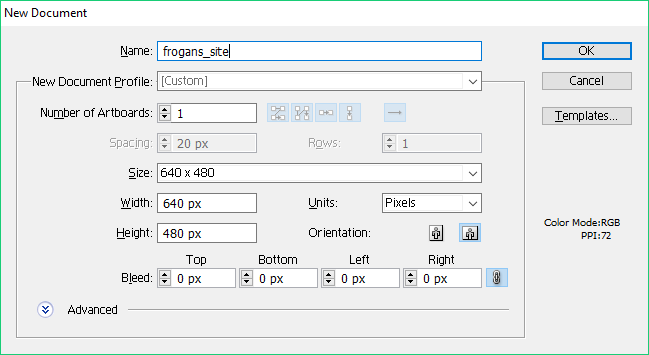
Illustrator will then present that artboard as a blank page that fills up most your screen. It’s a good idea to zoom out so that you are usually viewing your work at 50%. This way you will see your graphics at the same size as end-users will see your finalized Frogans site.
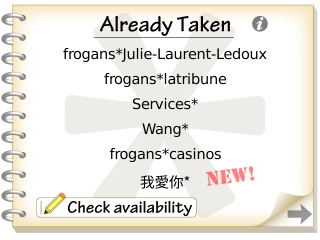
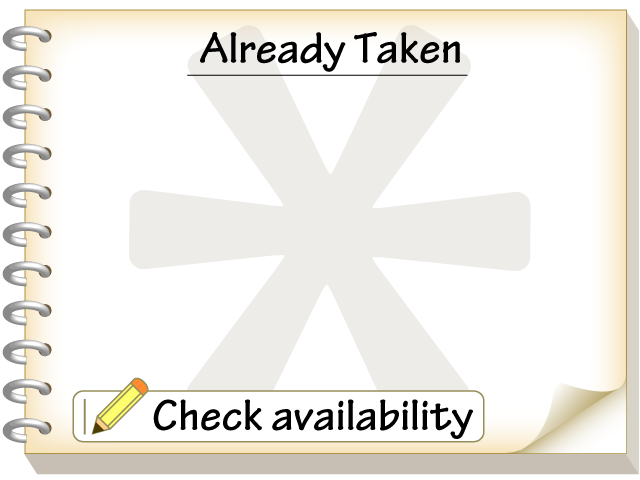
As an example let’s take a look at a slide from a site that I worked on for “Frogans Addresses for All,” a provider of Frogans address registrations (a “FCR Account Administrator”). You can visit this site via its Frogans address, which is “frogans*addresses.”
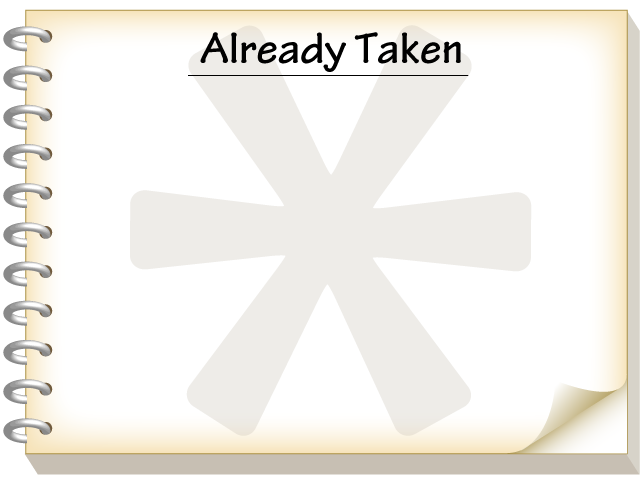
Placing a background image
This slide is made up of a background image over which other elements, such as button images and text, are placed using FSDL. In Illustrator, the background images by itself on the artboard looks like this:
We want to export this background image from Illustrator to a PNG file having the same dimensions as the artboard (640×480 pixels). We do this by going to “Save for Web & Devices…” in the file menu in Illustrator. Be sure to select “PNG-24” for your output format and make sure that “Transparecy” is checked.
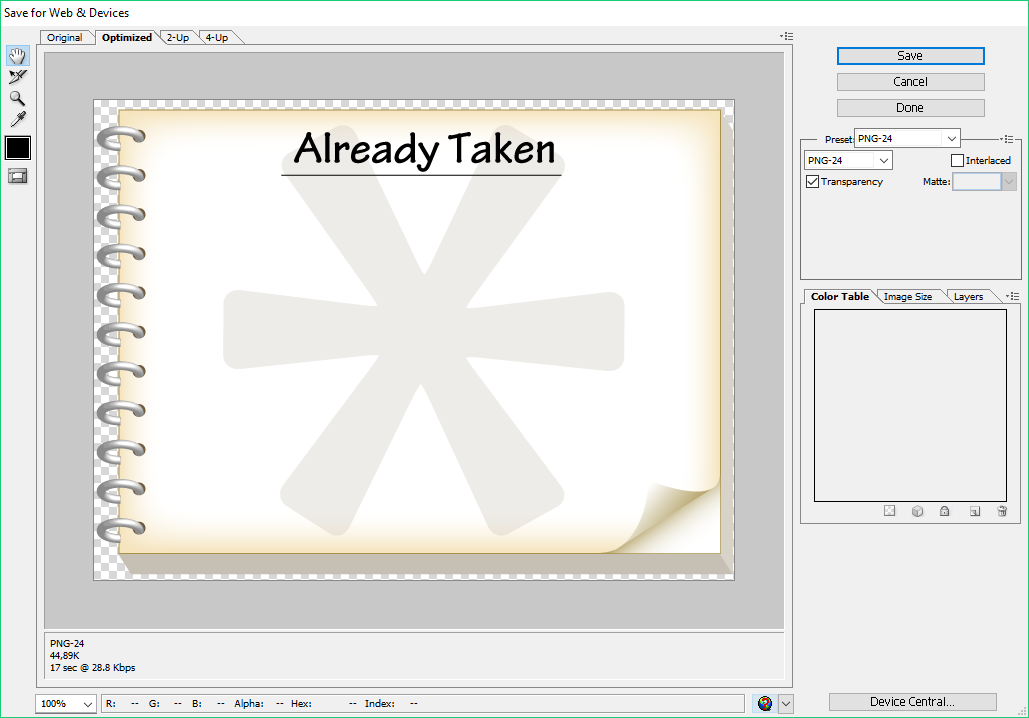
The resulting file can be immediately used in an FSDL document for creating a Frogans slide. For example, if you name this file “bk.png,” you can use it as follows in FSDL:
<file fileid='bk_f' nature='static' name='/bk.png' />

<resimage fileref='bk_f' resid='bk_r' size='640,480' />

<layer resref='bk_r' layerid='bk_l' leapout='all' align='left-top' pos='0,0' combine='add' />
Note that the value of the “size” attribute in <resimage> is “640,480.” This corresponds to the size of you artboard in Illustrator.
The “pos” value of “0,0” assures that the upper-left-hand corner of the image will be placed in the upper-left-hand corner of the Frogans slide, thus aligning the 640×480 pixel image with the 640×480 pixel rendered zone of the Frogans slide (Note: be sure that “align=’left-top’” in FSDL).
Creating additional elements to place over the background
By looking at the original screenshot of the slide, compared to the background image, you can see the visual elements to be added, including a “Check availability” button.
The graphics for the “Check availability” button were imported in as a separate image file, but were created in the same Illustrator file as the background.
In Illustrator, the graphics are drawn and positioned on a separate layer (I’m not going to cover drawing technique in this post).
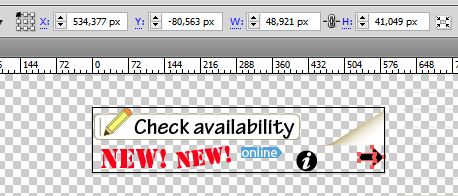
If we make a selection of the whole “Check availability” button, Illustrator will display the button’s size and placement in pixels in the control palette.
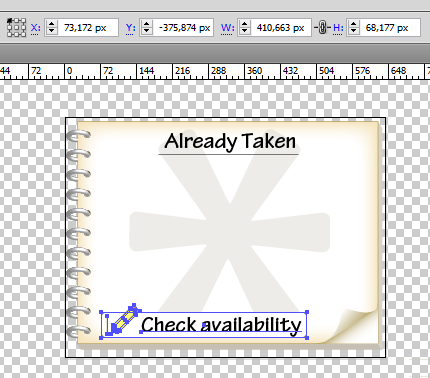
Here we can see that the size of the button is around 411×68 pixels and that it is positioned at 73×376 from the upper left hand corner of the artboard (don’t worry that the Y coordinate is expressed as a negative number – you’ll get used to it).
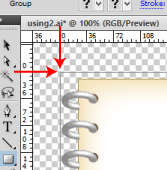
To be sure that the XY coordinates are correct with respect to the artboard, make sure that the rulers are set for the upper left hand corner to be at 0,0 (View -> Show Ruers, and then click on the upper left hand corner of the rulers and drag to the upper left hand corner of the artboard). Your rulers next to your artboard should look like this:
Exporting additional graphic elements
Since the button is going to be exported as a second file, you will want to create a second artboard and place in it a copy of your button graphics.
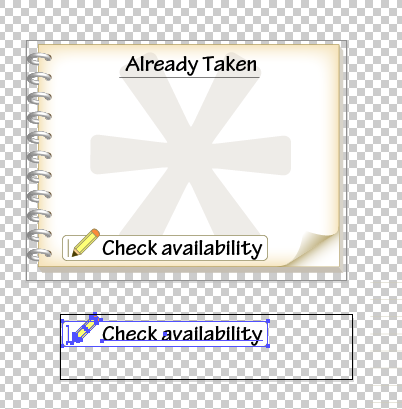
This second artboard is a bit bigger than the button graphics that are on it. This is because it is a good idea if you can also put your other exported graphic elements on a single file. We’ll see how this is done later.
When you have graphics selected on an artboard, then that artboard is selected for export with “Save for Web & Devices…” under the File menu.

You can name the exported file “btns.png,” for example, and write a <file> element in your FSDL document like this:
<file fileid='btns_f' nature='static' name='/btns.png' />
Back in Illustrator you can check the XY coordinates and size of this graphic element on the artboard that you just exported (don’t forget set the rulers to 0,0 in the upper-left-hand corner of this second artboard).

You can use these numbers for your <resimage> element to cut out the part that you want to use from the file:
<resimage fileref='btns_f' resid='btns_r' size='411,68' selection='extract' bounds='4,0,415,68' />
For the “size” attribute we round off the values shown for “W” and “H” in the toolbar. For “bounds,” we take the rounded-off “X” and “Y” coordinates for the first two values (4,0,) and then add the height and width accordingly for the last two values (415,68).
For more about using “selection” and “bounds,” see http://frogans-lab.com/2015/11/24/cutting-out-buttons-from-a-background-image-in-fsdl/.
Finally, for placing this image over the background in a <layer> element, we recuperate the coordinates that are shown for the original copy of the graphics over the background on the first artboard:

<layer resref='btns_r' layerid='btns_l' align='left-top' pos='73,376' … />
Adding more images to the second artboard (“btns.png”)
Like I said above, it’s a good idea to put your other exported graphic elements in a single file. This is because, if you had a separate file for every imported image in your Frogans slide, Frogans Player would have to perform a separate HTTP request for each image, during which your site’s end-user is going wait. It’s quicker and more efficient to consolidate your imported graphics to a single file, like this:
You can then use the “selection” and “bounds” in separate <resimage> elements to extract the parts that you need, for example:
<resimage fileref='btns_f' resid='btn_check_r' size='350,68' selection='extract' bounds='4,0,454,68' />

<resimage fileref='btns_f' resid='btn_check_o_r' size='350,68' selection='extract' bounds='4,464,454,532' />

<resimage fileref='btns_f' resid='btn_next_r' size='123,80' selection='extract' bounds='461,1,584,81' />
Note that in the above example, “fileref” is always “btns_f” even though the “resid” is specific to each graphic resource extracted from the file.
Leave a Reply